Search This Blog

Hi! My name is Crystin. I am a "homemaker" in training I suppose. My resume is pretty extensive. I am currently an {okay} cook, a boo boo kisser, a playmate, a jungle gym, bug catcher, butt wiper... I think I'm missing butcher, {I'm not a} baker, and candle stick maker. We will put a pin in that. I am a stay at home mom to two boys and a wife to a pretty awesome husband who thinks I'm pretty awesome too. I love learning new things, tricks, tips, recipes, cleaning technique. I really love being a Home Maker and I am always still learning. I have a strange sense of humor sometimes but I always try to be honest. Motherhood is hard and I am doing the best I can with what I have. A mother's life is dirty, messy, fun, silly, pretty gross sometimes...it's exhausting, enjoyable and all in all, a darn good time.

Wednesday, December 7, 2011

Block Bowling

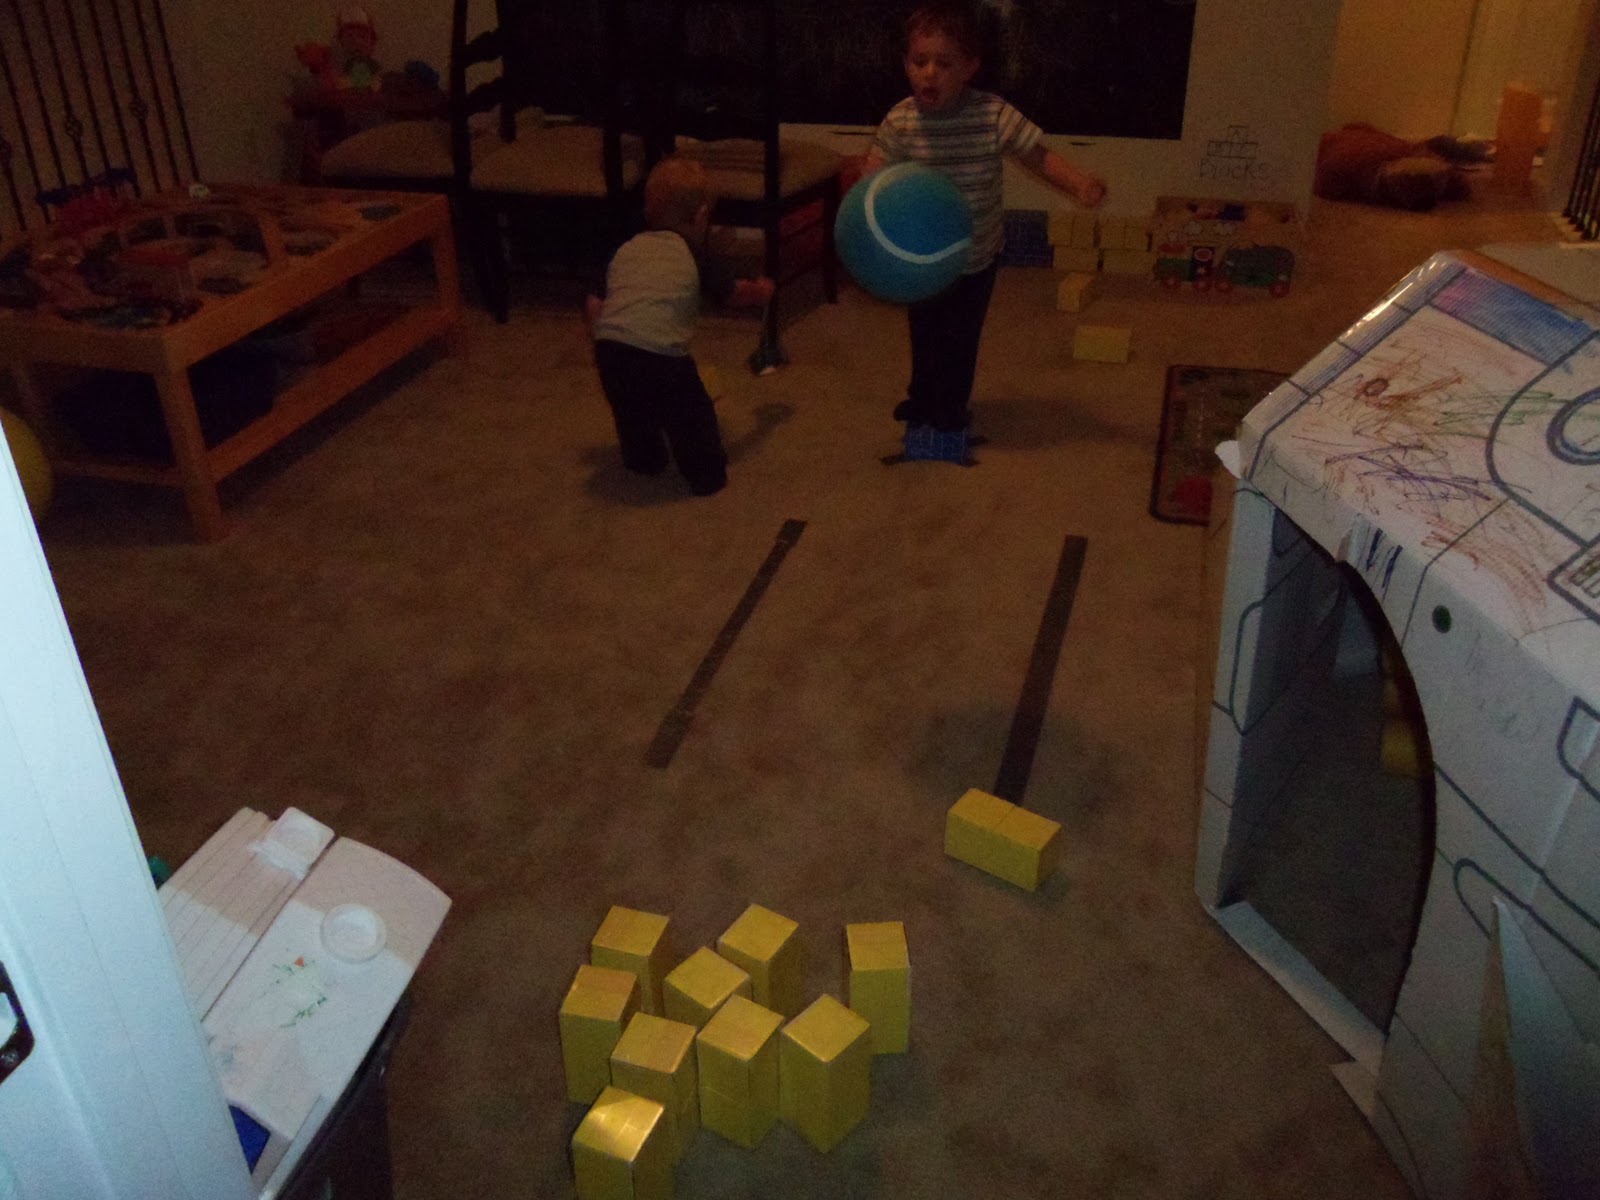
I actually got this idea today from Austin of all people. While we were cleaning up the playroom, he kept asking Lucas if he wanted to "play bowling ball".  I got to thinking about how easy it would be to set up our own little bowling alley upstairs. Austin loved to play "bowling ball". This is a super activity to work on their large motor skills and practicing taking turns and sharing.

All you need is:
Duct tape
a medium sized ball
9 smallish card board blocks

Variation: On a smaller scale, you could use a small ball and some wood blocks. Younger kiddos might like that.

Take some duct tape and make a longish alley and place an "x" on one end and line the pins up on the other end in a triangle.  The kiddos stand on the "x" and try to roll the ball to the end and knock down the pins. I didn't make my alley too long considering Lucas was playing too.


 Trying different sized balls was also really fun for the kids. We have a ton of them so it kept them busy for a while.
 Lucas got to the point where instead of playing ball, he was setting the pins up for brother. What I definitely liked about this was that they had to take turns. Lucas started setting up the pins, but then he started adding more and more pins so Austin could knock them down. It was cute to see what little patterns he was coming up with and seeing if Austin could knock them over in one roll.

This was such an easy time filler and it gave the boys some exercise which seems to be really hard on cold wet rainy days.

Monster Poop

I was not going to originally call this craft Monster Poop but Austin kept saying he "was playing in monster poop" so it kind of stuck. After playing in cloud dough the boys needed a bath. I wanted to do something fun for bathtime and bubbles are ho hum. I thought of this cute idea.

All you need is:
Shaving Cream (the creamy kind, not the gel)
Food coloring
bath tub
two dirty kiddos  :)

Squirt some shave cream in a bowl, add food coloring, stir.


Put the bowl in the bath tub with the kids, sit back and watch them go to town. Clean up is a breeze (done by two messy boys hee hee) and afterwards, they got a bath! What a fun 30 minutes.


Cloud Dough

My kids LOVE the sand box we have outside...it's raining, so that means, no sand...or does it? I found this awesome recipe for Cloud Dough and decided to try my hand at it. The boys were so excited. Not only does this "sand" feel awesome it smells amazing too.

I halved the recipe because I didn't have tons of flour to spare, but it turned out totally fine.

4 cups flour
1/2 cup baby oil
spoons, measure cups, bowls...anything that would play in the sand with
Put it all in a bowl and mix it until it forms a soft dough. Enjoy.

The boys couldn't get enough. When you squeeze the dough it sticks in the shape. It's pretty awesome. This stuff will be definitely be in my arsenal for a rainy day. It's really really moldable. We made some cute little castles.


Note: you may want to put it on a towel or sheet. It can get messy with two kiddos :)

FORTS!

Who knew a few chairs and sheets would take away the rainy day blues.  I would like to say I mastered the fort building skill yesterday. We had so much fun building this fort that I have left it upstairs for today as well. I used two queen sheets, a fitted sheet, tape (that's the key) and dining room chairs and built an amazing two room fort for the boys.


I used the rocket ship we bought at CVS for $12 as one of the entrances to the fort. This is the "bedroom" lol.

I also am lucky enough to have a tube that I purchased from the thrift store about a year ago for less that $1.00. That's the second entrance. (pardon my kid's underwear)


Needless to say, the boys enjoyed the fort and are currently upstairs playing away :) We had a "picnic" with play food, a "dance party" and story telling time in the fort yesterday. I wonder what fun we are going to have today?


Alien Magnets

Yesterday was a completly ugly and rainy day out, so out came the crafts. We have such a small selection of craft stuff so I kind of had to improvise.  These little guys turned out so stinking cute!! I love them.

You will need the following:1 pipe cleaner
craft glue
googley eyes
craft stick/popsicle stick
4 big poof balls
2 sticker hands
2 tiny poofs
magnets

Take your pipe cleaner and cut a small bit off. These are your antenas. Make a "v" with it and glue it on the front of your craft stick. (I don't have a picture of this step, pretty easy though)
Next, take your craft stick and glue blobs of glue down the front. Attach your big poofs in a row in whatever pattern you want. (I actually did this step first and THEN tried to glue the antenna on... didn't turn out well. so I would do this step second and the antenna first)

Afer the glue on the antenna has dried, attach your tiny poofs to the end like antenna balls.
Once the glue on the large poofs has dried, attach the googly eyes to the front of them with the glue in whatever pattern you want.
Next take two cuts of pipe cleaner (smaller than the antennas). these are going to be your arms. Add some glue to the end of the "arms" and shove it down in between the large poofs. Hold it in place until the glue attaches. Next, take your sticker hands and attach them to the front of the "arms"


Once your alien guy has dried, turn it over and glue a magnet to the back of it. Make sure you let it dry before you stick it on the fridge.



Monday, December 5, 2011

Playroom Organization

Our playroom was a disaster. I can't stress that enough. Toys and blocks and stuffed animals everywhere. My boys do not clean up after themselves.  We are going to stop that now. I am tired of cleaning up after them constantly when they are old enough to start helping out.  To make things a little easier, I have spent all morning cleaning their toy room up and donating two boxes of toys to Hannah Home.  I thought it would be easier if I labeled everything with pictures and words for the boys until they can read.  I scoured the house for boxes, tote boxes empty tupperware...basically anything that could hold stuff.  I tried to print off some clip art offline, but I couldn't get the pictures to print large enough, so I drew my own. Some of the pictures are horrible, but the kids will get the pictures. Jerry and I also thought it would be good if we didn't allow anymore toys (unless the boys are playing with it that minute) downstairs. I am going to really crack down with the kids. I am sooo tired of cleaning up after them all the time...did I mention that?? Okay, so here are some pictures of the new playroom. (sorry my camera is so blurry. I need to change the settings I think)

My kids have tons of little people, little people vehicles and playsets... so I found a cute little picture of the people online and printed it out.
Here are the blocks.We have tons of blocks...wooden, cardboard... plastic.
This is my sad attempt at the "home living" section lol. Here is the kitchen and the box next to the kitchen is full of food, plates, pans, silverware etc. The boys love to vacuum so I thought it would be good to keep their vacuums next to this area too.
Here are the millions of race cars they have all neatly put into a little bin. They also have that little carpet/rug that's a track so I made sure I put that next to the race car bin.  (pardon my horrible race car drawings)
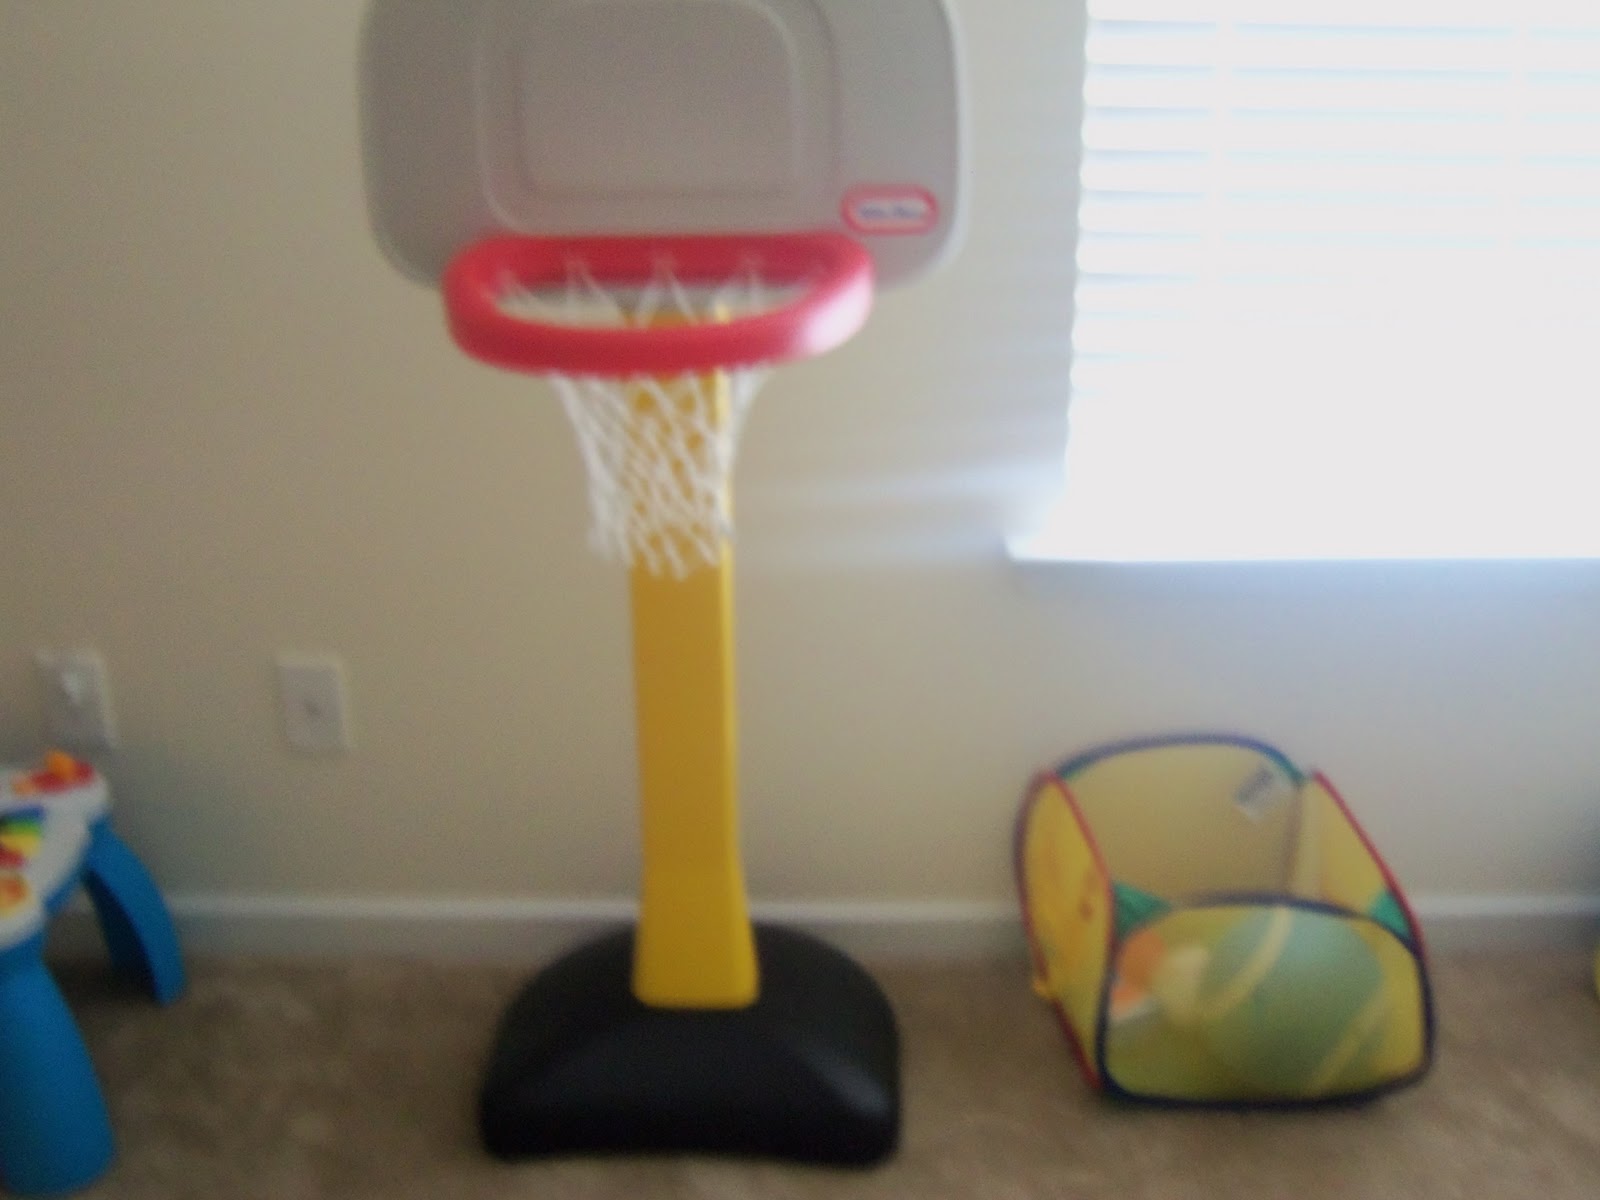
 Above is the train table and in the little bin is all the pieces that go along with it. Their race car track is underneath the table along with the things you need to put it up on the railing to make a track. Below is our basketball net and in the little basket is all the balls.
I'm proud of our playroom :)

Thursday, December 1, 2011

Facing an irrational fear

I have a fear of needles. Yes, the dr. office needles...but also sewing machine needles. When I was in 9th grade home economics class, we had to make toilet seat covers. (gag I know) They were hideous and red. Who puts those over their toilets?? Old people! They were supposed to be a gift for our parents. I hope Austin never brings one of this stupid things home...but I digress. I was using the sewing machine...Happily I moved the sewing needle through my nasty little toilet seat cover and then it happened. I RAN THE NEEDLE THROUGH THE TIP OF MY FINGER. In a moment of shock, I started to pull my finger... the needle was stuck and it was gushing blood all over my toilet seat cover. (probably the best thing that happened to my parents that year, they didn't get a horrible toilet seat cover under the christmas tree) I couldn't figure out how to get it out. I wasn't aware that all I had to do was turn the wheel thing and it would come out. I kept pulling and pulling...making the wound even worse. Once I was freed from the machine, I ran to the nurse screaming and the rest is history. It was terrible.

Since then, I have had an aversion to sewing machine needles. My great grandmother had a sewing machine...it's about 200 years old and it's an antique. My mom brought it up the last time she was here. It's been sitting up in our spare bedroom collecting dust. This thing is so cool. My grandmother still has all her old notions and lace and things like that in the drawers. I have decided I am going to to start sewing. I have no idea how to sew..but luckily the sewing manual is in the drawers too.  I'm not sure what I am going to make or what I want to do with it, but I am going to sew. I have delusions of using the machine and being able to sew something spectacular on the first go... in reality, I am probably going to go through tons of awkward sweaters and strange pieces of fabric all clustered together before I actually get good at sewing, but it's about time to crack down and face my fears of sewing machines. 

It's going to be a work in progress.