Search This Blog

Hi! My name is Crystin. I am a "homemaker" in training I suppose. My resume is pretty extensive. I am currently an {okay} cook, a boo boo kisser, a playmate, a jungle gym, bug catcher, butt wiper... I think I'm missing butcher, {I'm not a} baker, and candle stick maker. We will put a pin in that. I am a stay at home mom to two boys and a wife to a pretty awesome husband who thinks I'm pretty awesome too. I love learning new things, tricks, tips, recipes, cleaning technique. I really love being a Home Maker and I am always still learning. I have a strange sense of humor sometimes but I always try to be honest. Motherhood is hard and I am doing the best I can with what I have. A mother's life is dirty, messy, fun, silly, pretty gross sometimes...it's exhausting, enjoyable and all in all, a darn good time.

Thursday, December 8, 2011

Salt dough Ornament Garland

A few weeks ago, I did a post on salt dough ornaments. I decided that I didn't want them on the tree as boring old ornaments... I wanted them to have their own spot light (lol). I made a salt ornament garland.  It took no effort really and it turned out super cute I think. When we made the ornaments, I threaded a piece of pipe cleaner through the top and tied it in order to hang it on the tree. I just unraveled the pipe cleaner and wove it together with the other ones to make one long string of ornaments. I ended up reinforcing the weave with clear packing tape.


Look how cute this little craft was! I'm so excited.

Bead Sorting

I needed somewhere to store all of our colored plastic beads. I was going to use this large egg carton for a windowsill garden but I thought this might be fun too. Not only does this hold all your beads, on a rainy day, you can use this as a color sorter for the kids...all the beads can sit on the lid while they sort them by color. Add different shaped beads or different texture beads to the open compartments and you can not only use it for colors, but for shapes/textures too!

Here is Austin sorting and stringing a necklace from beads. He enjoyed sorting today

Mini Marshmallow Poppers

These are so fun! They are so fun in fact, the boys haven't eaten the mini marshmallow I have given them..surprising.  I have seen this idea on so many sites, I can't remember which ones.

You will need the following:

8 oz plastic cup
large-ish balloons
mini marshmallows or pom poms
(we may need to switch to pom poms considering we have lost a few marshmallows and I am concerned LOL)
First, cut the bottom off of the cup about 1/4 of the way off.


 Cut the balloon bottom in the same way.
 This next step was trial and error. I first tried to put the balloon over the bottom of the cup without tying it first. My fingers are still hurting... The second popper I made, I tied the balloon first :)
 Stick the pom pom or marshmallow in it... Hold the bottom sides of the cup and pull the knot. The pom pom or marshmallow shoot out. Pretty darn cool if you ask me!! The pom poms actually work better. They are easier to find when popped and they won't attract ants if they are not found!! lol


Bath tub Ice Crayons


 While the boys played with their Itty Bitty Construction sites I whipped these bad boys up for bath time tonight.  All you need is:

Water
food coloring
ice cube trays


 So, for my crayons, about 3/4 cup of water is going to make 7 crayons. I added 3-4 drops of color to the water and stirred then poured it in the trays.
 Then freeze...Easy as that. When they are frozen solid, pop them out, add them to the bath and see how fast they melt... or give them to the kiddos and let them "draw" on the tub until they melt.
Since this is a bath time activity, I am not going to take pictures of the crayons "in action"...but this should be a good activity tonight. Not to mention, they are non-toxic considering it's just food color and water.

Itty Bitty construction site

Yesterday was such a huge hit with cloud dough I thought it would be fun to get some small toys to play in it with. First off, the Dollar Tree is awesome. They have tons of cheap things to use with crafts. I went this morning and got some stuff for future crafts, but I also got four small construction vehicles for an idea I had to make a small construction site for the boys. "This was such a good idea!" (per Austin lol)  Two things I learned from playing with cloud dough yesterday was 1) bigger sheet and 2) they each need their own box of dough. Today, instead of halving the dough recipe like I did yesterday, I made the entire recipe and I am super glad I did. Each boy had enough dough to create their own little imagination playground.


I put the leftover cloud dough (and the vehicles, much to austin's dismay) in a tupperware bowl and I labeled it. I am not sure how cloud dough "saves"... I guess we will find out soon enough. Next time, I want to add some rocks and sticks. Things they can "build" with.

Wednesday, December 7, 2011

Marshmallow PaintBrushes? Sure!

Austin and I made an attempt at making marshmallow animals today. To say the least, that was a bust.


After a gut busting chomp on marshmallows for Austin, I decided to try something silly. It seemed to work out, as silly as it sounds.

Marshmallow Paintbrushes
Marshmallows (we used mini)
spaghetti pasta

I made some fingerpaint for Austin to paint with and put marshmallows at the end of some spaghetti noodles as paintbrushes. He thought it was AWESOME! lol Kids are easy.  He painted and painted for a good 15 minutes while Lucas slept. I was able to get some stuff done which is always nice.


Block Bowling

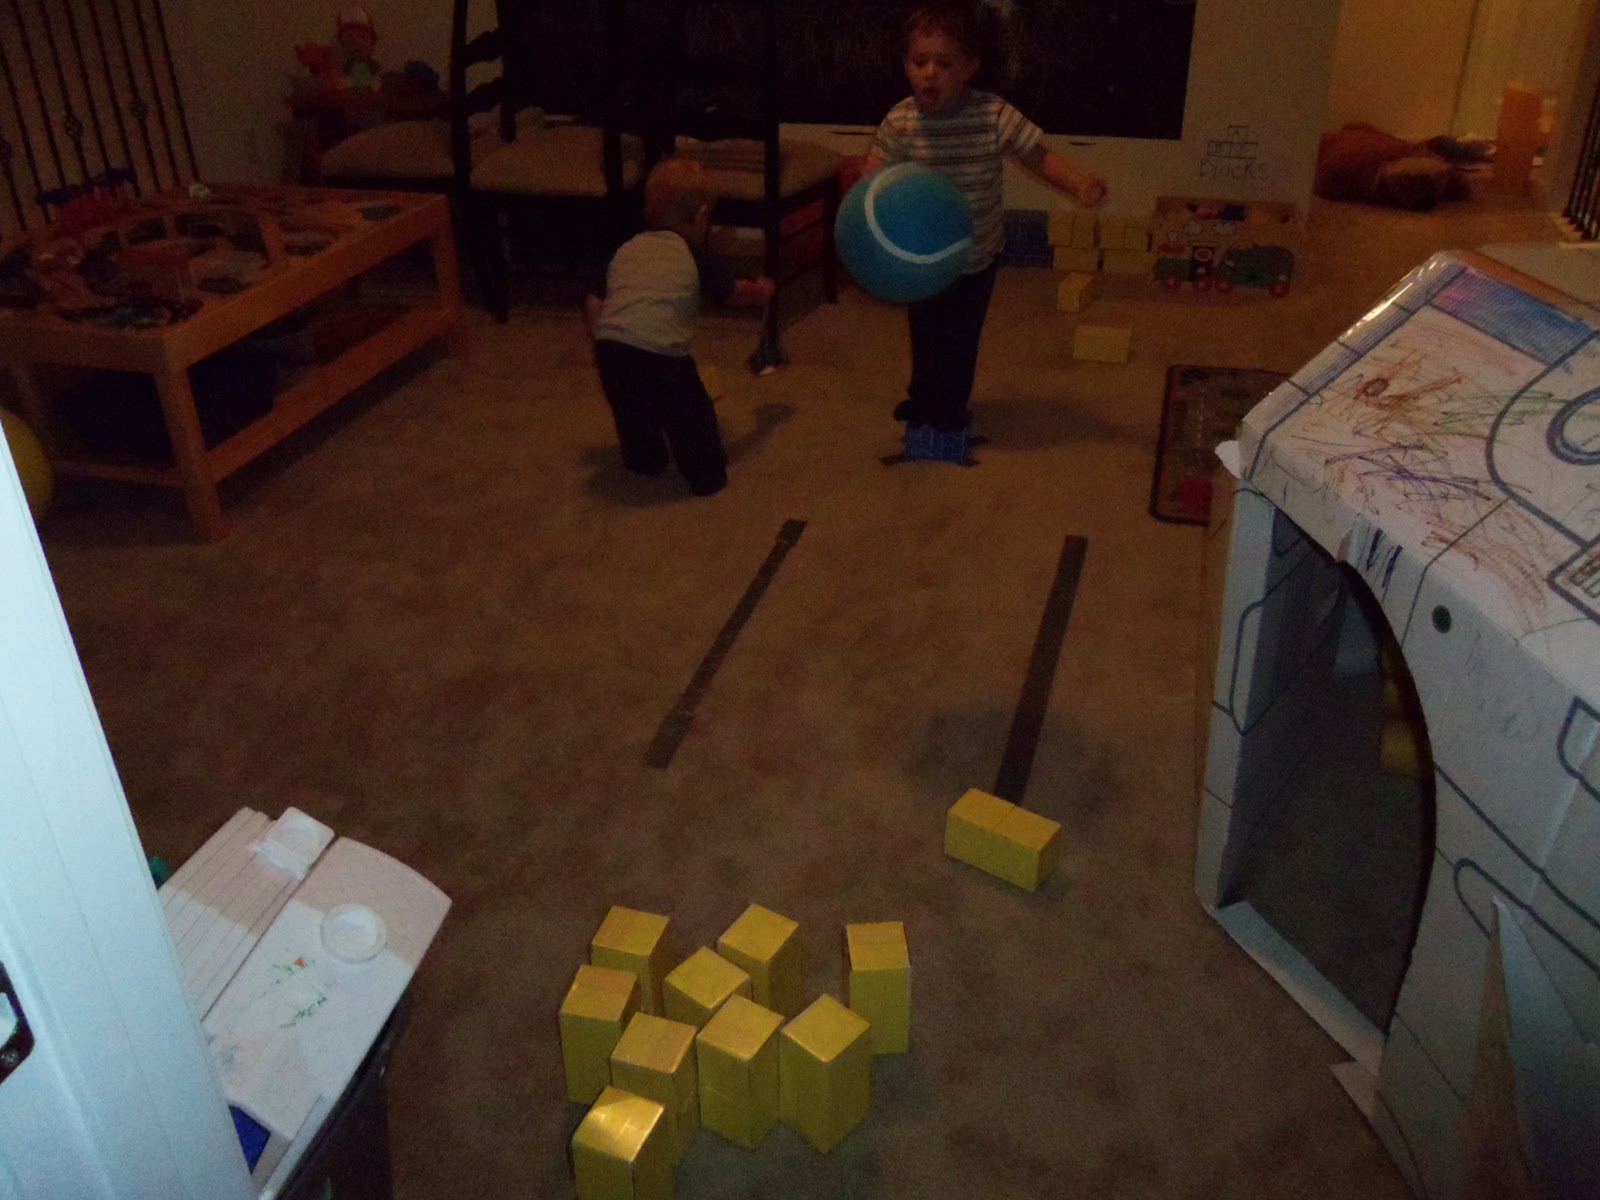
I actually got this idea today from Austin of all people. While we were cleaning up the playroom, he kept asking Lucas if he wanted to "play bowling ball".  I got to thinking about how easy it would be to set up our own little bowling alley upstairs. Austin loved to play "bowling ball". This is a super activity to work on their large motor skills and practicing taking turns and sharing.

All you need is:
Duct tape
a medium sized ball
9 smallish card board blocks

Variation: On a smaller scale, you could use a small ball and some wood blocks. Younger kiddos might like that.

Take some duct tape and make a longish alley and place an "x" on one end and line the pins up on the other end in a triangle.  The kiddos stand on the "x" and try to roll the ball to the end and knock down the pins. I didn't make my alley too long considering Lucas was playing too.


 Trying different sized balls was also really fun for the kids. We have a ton of them so it kept them busy for a while.
 Lucas got to the point where instead of playing ball, he was setting the pins up for brother. What I definitely liked about this was that they had to take turns. Lucas started setting up the pins, but then he started adding more and more pins so Austin could knock them down. It was cute to see what little patterns he was coming up with and seeing if Austin could knock them over in one roll.

This was such an easy time filler and it gave the boys some exercise which seems to be really hard on cold wet rainy days.